*** Enter discount code NY25 at Checkout for savings on selected Building & Decorating items ***
Not logged in
 
icon

FREE DELIVERY
When you spend £40 or more

icon

SAME-DAY DESPATCH*
When you order before 2.00PM

icon

COMPETITIVE PRICES
Low Prices & Special Offers

icon

SATISFACTION GUARANTEE
14 Day return policy

Product Directory


Information & Guides

Dolls house project reviews, how-to guides and helpful information.
See more»
 

Home » Dolls House Projects » Room Box Project

Dolls House Room Box Project

Project review by Bromley Craft Products

See how we built this room box with inglenook fireplace finished with realistic brick effect

Room boxes can make a really enjoyable project.  Relatively cheap and quick to complete compared to a full size dolls house project, but can be just as satisfying.  With a small project like a room box it is easier to pay more attention to every detail and be more creative without the distraction of many more rooms to complete.

This step-by-step guide shows how we transformed a standard room box into a cosy Christmas themed room setting featuring a brick inglenook fireplace with glowing flickering fire. For this project we applied two layers of Realistic Brick Compound to the brick parts, one for the mortar colour and one for the stone finish.  Usually we only apply a single layer of compound so the painted background is visible in the mortar joints, but adding a layer of compound for the mortar provides a more realistic effect on small projects. We recommend using this method when the best close-up detailed finish is required.
Room Box Build with Inglenook Fireplace
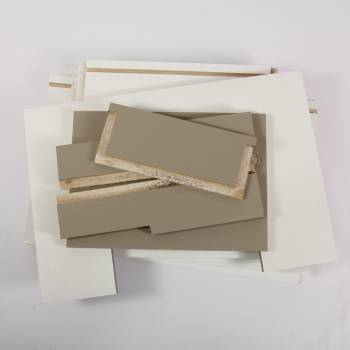
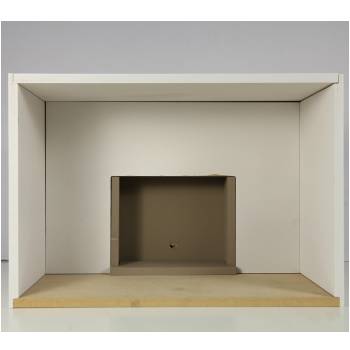
undecorated dolls house room box
We started with a standard small Room Box Kit (DH021) which was dry assembled (without glue)  initially, and we cut out parts to make an internal wall and recessed inglenook fireplace.
Decorated dolls house room box
The photo above shows the completed room box with realistic brick fireplace, real wood floorboards and lighting etc. installed.  Step-by-step photos below show how this was created.
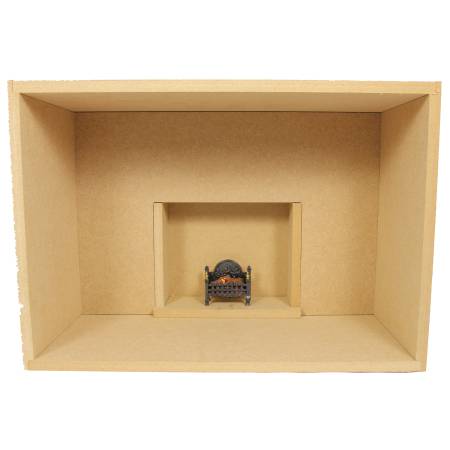
room box
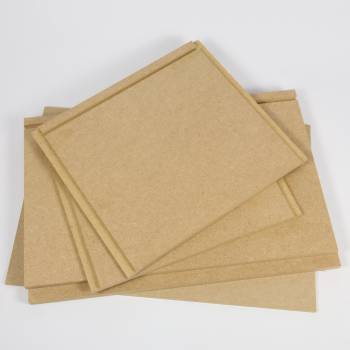
Photo shows the MDF room box parts. This is a standard DH021 Room Box Kit.
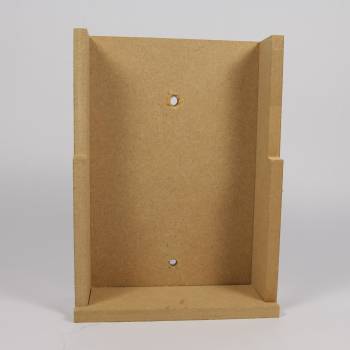
inglenook firmplace parts
We cut out parts from MDF to form an inglenook fireplace and internal wall which were fitted inside the room box.  Holes have been drilled at the rear ready to install flickering LED bulbs to give the fire and chimney a flickering warm glow.
Paint the room box kit parts
Here the parts have been primed.  The brick parts have been painted a cement colour - this will be covered, but the colour won't show if any parts are missed.  Matt emulsion paint is recommended.
Dry assembly of the room box.
Here the part can be seen fully assembled after painting.  This is a dry build without glue just to check everything fits correctly before proceeding with the decoration.
Mix brick compound ready for application
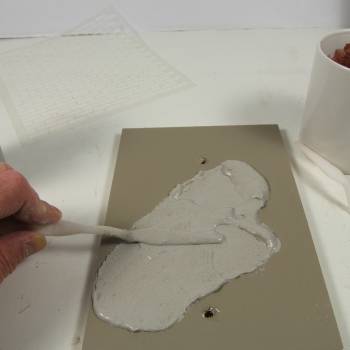
We mixed some grey / neutral compound and applied as the mortar base coat.  It should be a smooth easily spreadable consistency, but not runny.  If in doubt we recommend trying test / practice applications before applying to the kit.
Apply mortar layer of compound
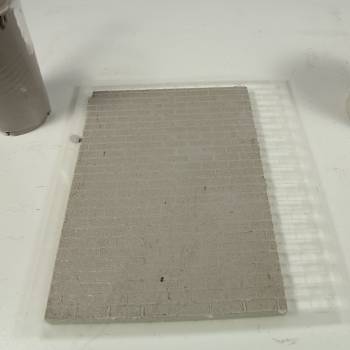
Immediately after applying the mortar compound layer thinly and smoothly, the brick stencil was positioned on the wall and pressed firmly into the soft compound whilst still wet.
Apply brick stencil over mortar layer
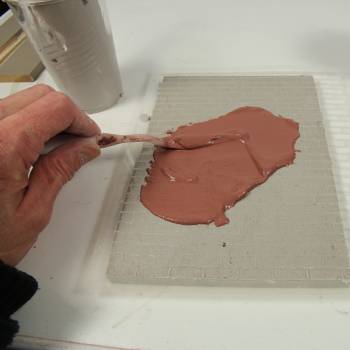
A layer of red brick compound was then applied over the stencil and spread smoothly over the wall area..  .
Apply buff colour compound over stencil
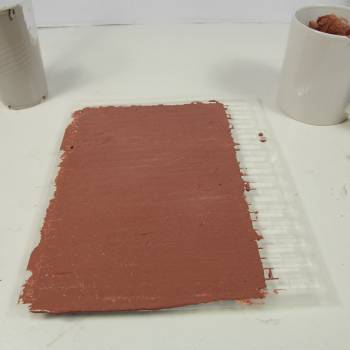
Here you can see the wall after the red brick compound has been applied prior to the stencil being removed.  As soon as you are happy with the compound application you can proceed to remove the stencil.
Remove stencil to reveal dolls house brick wall effect
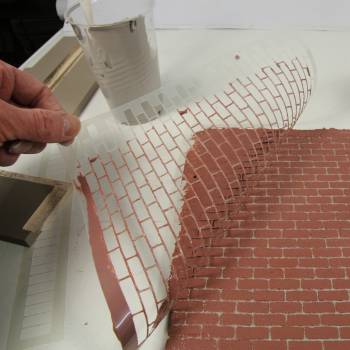
Here you can see the stencil being peeled away  to reveal the brick finish.  Note that there is no need to allow the compound to dry between application stages.
Completed brick parts before assembly
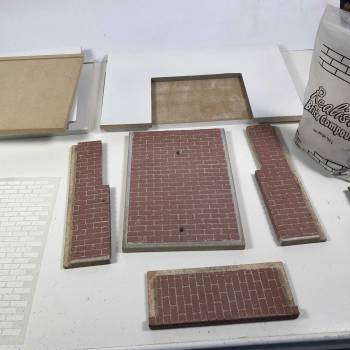
Here you can see all of the brick parts after the application is completed. Note that these parts were much easier to brick before assembly.
Real wood dolls house floorboards
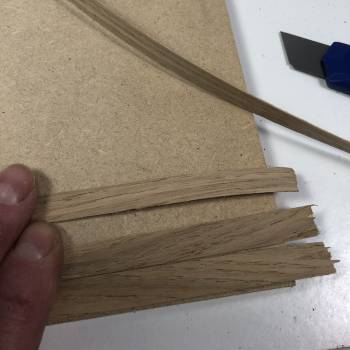
The floor of the room box was boarded using iron-on real Oak floorboard strips.  These were simply cut to length with scissors and ironed-on.
Finishing the real Oak dolls house floorboards
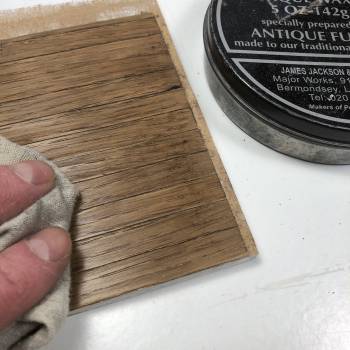
After application of the floorboards we lightly sanded the wood before finishing with a coat of antique colour wax polish.
Assembling the room box
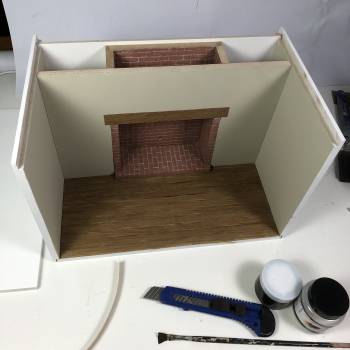
This photo shows the room box starting to take shape. The brickwork was shaded to produce a more authentic sooty colour using acrylic paints, but unfortunately we don't have a photo showing this step.
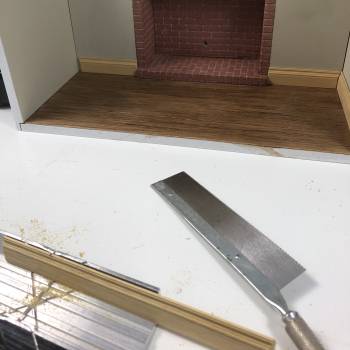
Finishing off the room box
Skirting boards were fitted around the floor area and also a decorative moulding was fitted around the front edges of the room box to finish it off.
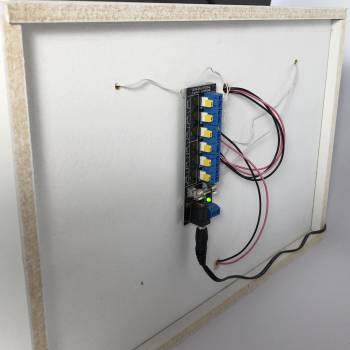
Dolls house room box wiring
This photo shows the wiring used to power two wall lights and several flickering LED's in the fireplace and chimney.  These lights create a lovely warm flickering glow in the room box.  With hindsight we should have routed the wires inside the box to give a neater finish.  For wiring instructions see our dolls house lighting guide.

Dolls house room box wiring
This photo shows the wiring used to power two wall lights and several flickering LED's in the fireplace and chimney.  These lights create a lovely warm flickering glow in the room box.  With hindsight we should have routed the wires inside the box to give a neater finish.  For wiring instructions see our dolls house lighting guide. This photo shows the wiring used to power two wall lights and several flickering LED's in the fireplace and chimney.  These lights create a lovely warm flickering glow in the room box.  With hindsight we should have routed the wires inside the box to give a neater finish.  For wiring instructions see our dolls house lighting guide.

Dolls house room box wiring

Heading Bold

This photo shows the wiring used to power two wall lights and several flickering LED's in the fireplace and chimney.  These lights create a lovely warm flickering glow in the room box.  With hindsight we should have routed the wires Bold the box to give a neater finish.  For wiring instructions see our dolls house lighting guide. This photo shows the wiring used to power two wall lights and several flickering LED's in the fireplace and chimney.  These lights create a lovely warm flickering glow in the room box.  With hindsight we should have routed the wires inside the box to give a neater finish.  For wiring instructions see our dolls house lighting guide.

Shop for Dolls House Room Boxes


Completed dolls house room box with Christmas themed decor
Here the finished room box has been furnished and decorated to create a Christmas theme.  The lighting and flickering fireplace give the room a very warm and cozy atmosphere. 
Realistic Brick and Stone Finishes for Dolls Houses

To view a more detailed application guide click here.  To view various projects and magazine features click here.  To view more photos click here or view our Flicker page here.  If you have viewed all the information on the website and still have questions please contact us.

Click links below for more information...